Deploying WordPress with Kubernetes and Terraform on AWS
Major cloud providers nowadays have decent hardware, network and 24/7 teams to operate your online business at a 99.9% uptime ratio for years, even without redundancy.
I myself have been running a managed cloud hosting provider for half a decade now and I can't even remember the last time a cloud instance went down for hardware-related issues. Amen. 🙏
- Why do I need Kubernetes then? You're probably wondering.
Unless you're running a million dollar business, the truth is you most likely don't. No kidding.
To make a looooong story short, Kubernetes was designed to run workloads such as Google's. It is a highly technical tool designed to enable the deployment, scaling and management of big boys applications.
The deployment described in this article is just a proof of concept, so you can understand a little more about scaling applications on the cloud using enterprise-grade technology.

It will look very simple and painless since the infrastructure is defined as code. Don't worry, you only need some knowledge of CLI to perform the steps.
WordPress Parts
Before going further, a quick reminder of how WordPress is structured so you can later understand better the infrastructure design:
- /wp-includes and /wp-admin directories && /*.php files
These are CORE files, downloaded directly on WordPress.org team and are only updated when you update a WordPress install. - /wp-content directory
Location of the WordPress themes, plugins and uploads. These are the files that pretty much differentiate your site from a fresh WordPress install. - MySQL database
The users, posts, pages and options have to be placed somewhere and WordPress chose a long time ago to rely on a MySQL database to store all these configurations.
Pre-deployment Steps
You'll need to install the following softwares, preferably with the versions specified:
- Terraform v0.14+
- AWS CLI v2+
- Kubectl v1.21+
- AWS IAM Authenticator v1.19+
- Helm v3+
How to install these softwares will largely depend on your operational system, but it's quite easy and I trust you can find the install instructions. 💪
Besides the softwares, you will also need a valid AWS account. After login, create an IAM user with Programmatic access only and AdministratorAccess policy. You can name that user terraform.
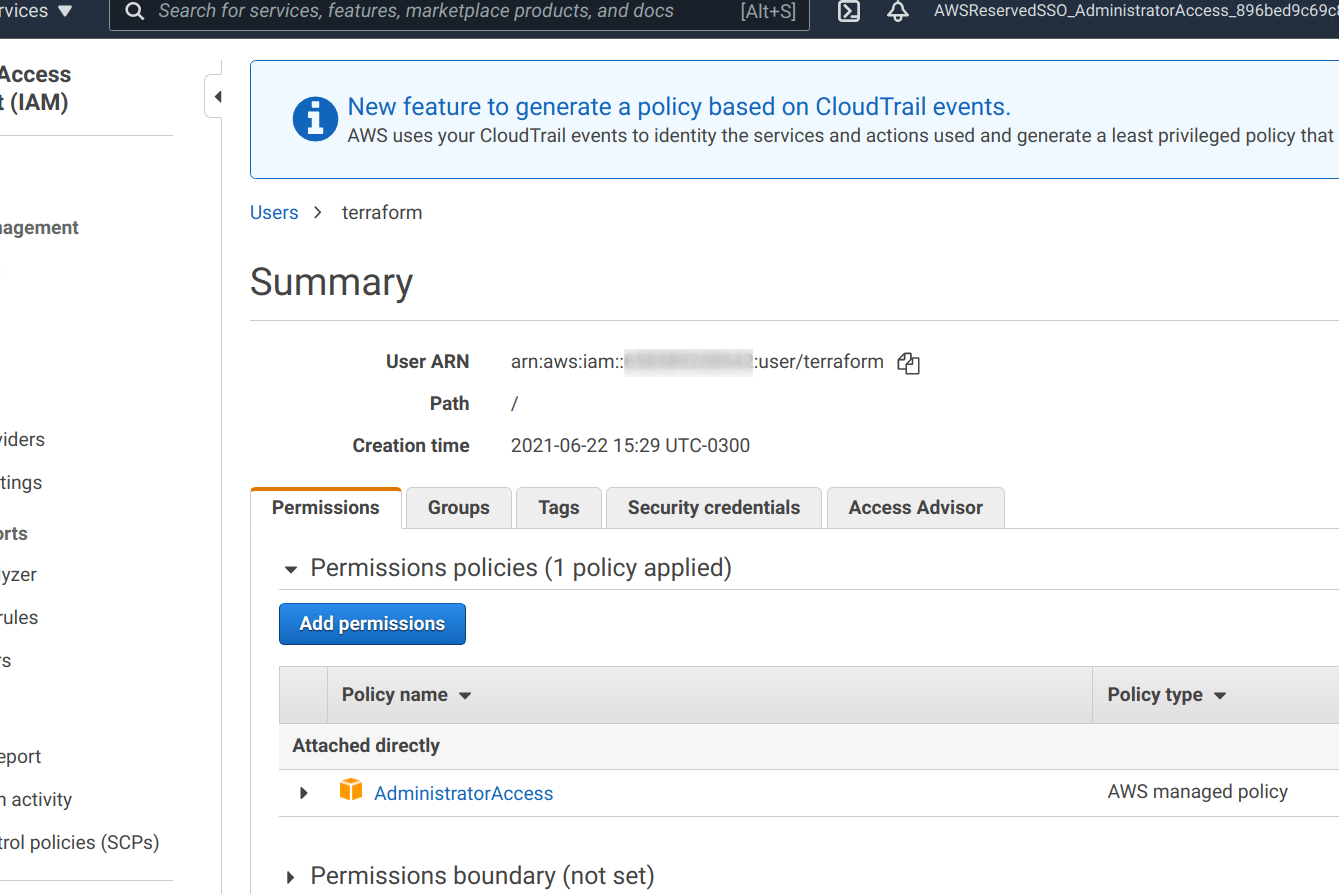
AWS will give you an access key ID and a secret access key when you create the IAM user. These credentials must be added to the .aws/credentials file.
The Terraform configuration used in this article relies on the AWS profile with name terraform-kube-wp-${var.stage}, so you can name the profile as such:
[terraform-kube-wp-dev]
aws_access_key_id = XXX
aws_secret_access_key = XXX
The last item on the pre-deploy list is to clone the following repository:
$ git clone https://github.com/ntorga/terraform-k8s-aws-wp-pocIt comes without saying but remember that AWS will charge you a couple bucks for running the infrastructure deployed here.
Deploying
Terraform is the tool we use to define our infrastructure entirely as code. Each file on the repository is responsible for a part of the infrastructure. The EC2 instances, the database, the Kubernetes configs, even the DNS is managed by Terraform.
The variables.tf file has some information you may want to change such as the stage-domain or the type of the instances.
Keep the stage as dev for now. To demonstrate how powerful Terraform is, the variables.tf file allows you to specify different domains and instance types according to the environment you're deploying. Fancy or what? 😏
As long as you installed and configured everything mentioned on the previous topic, you just need to run two commands to deploy the environment:
$ terraform init
$ terraform apply -auto-approve
After the Deploy
After Terraform deployed everything, you should be able to run commands with kubectl such as:
$ kubectl get nodes
NAME                         STATUS   ROLES    AGE   VERSION
ip-10-0-1-131.ec2.internal   Ready    <none>   55m   v1.18.9-eks-d1db3c
ip-10-0-2-20.ec2.internal    Ready    <none>   55m   v1.18.9-eks-d1db3c
ip-10-0-3-165.ec2.internal   Ready    <none>   55m   v1.18.9-eks-d1db3c
If you get one of the following error messages when running kubectl:
| error: You must be logged in to the server (Unauthorized) --- Unable to connect to the server: dial tcp: lookup XXX.yl4.us-east-1.eks.amazonaws.com on 127.0.0.53:53: no such host |
Don't worry, you just need to update the kubeconfig with AWS CLI:
$ aws --profile terraform-kube-wp-dev eks update-kubeconfig --name kube-wp --region us-east-1When you look at the route53.tf file and the k8s/ingress-controller.yaml file, you'll see instructions to uncomment after the first deploy:
That's because AWS will take a few minutes to deploy the load balancer, so we can only use it after the first deploy. As per instructions, uncomment both and run terraform apply again.
There are unofficial workarounds that makes Terraform wait for the load balancer deployment to create the DNS record, but to keep the code as simple as possible that workaround has been left out on purpose.
Interesting details
WordPress Docker image from Bitnami is the image running on the Kubernetes cluster. On the k8s/deploy-svc-wp.tf file it's possible to notice a couple environment variables:
These environment variables were added to allow WordPress to connect to the database. Speaking of which, the MySQL database running is powered by AWS Aurora MySQL-compatible, an AWS MySQL service offering capable of 5X (😱) the throughput of a standard MySQL instance. All of that, deployed by a single Terraform file:
Note that the database password is in plain text. Of course you won't do that in the real world (right? right!). Consider using AWS Secrets Manager to store the credentials or use random generated credentials.
The k8s/deploy-svc-wp.tf file also configure a volume mount for the /wp-content directory. Together with the k8s/wp-content-pv.tf file, the /wp-content directory is being served by AWS Elastic File System (EFS).
Since the cluster is running 3 replicas of WordPress, it's important to persist the data between the instances. AWS EFS is a network file system, thus the same /wp-content is shared by all WordPress instances, like magic. 🤯
Summarizing, WordPress has 3 important parts as mentioned earlier. The first (/wp-includes, etc) comes directly from the WordPress Docker image. The second (/wp-content) is being served by AWS EFS and the last (MySQL Database) from AWS Aurora MySQL.
Accessing the WordPress install
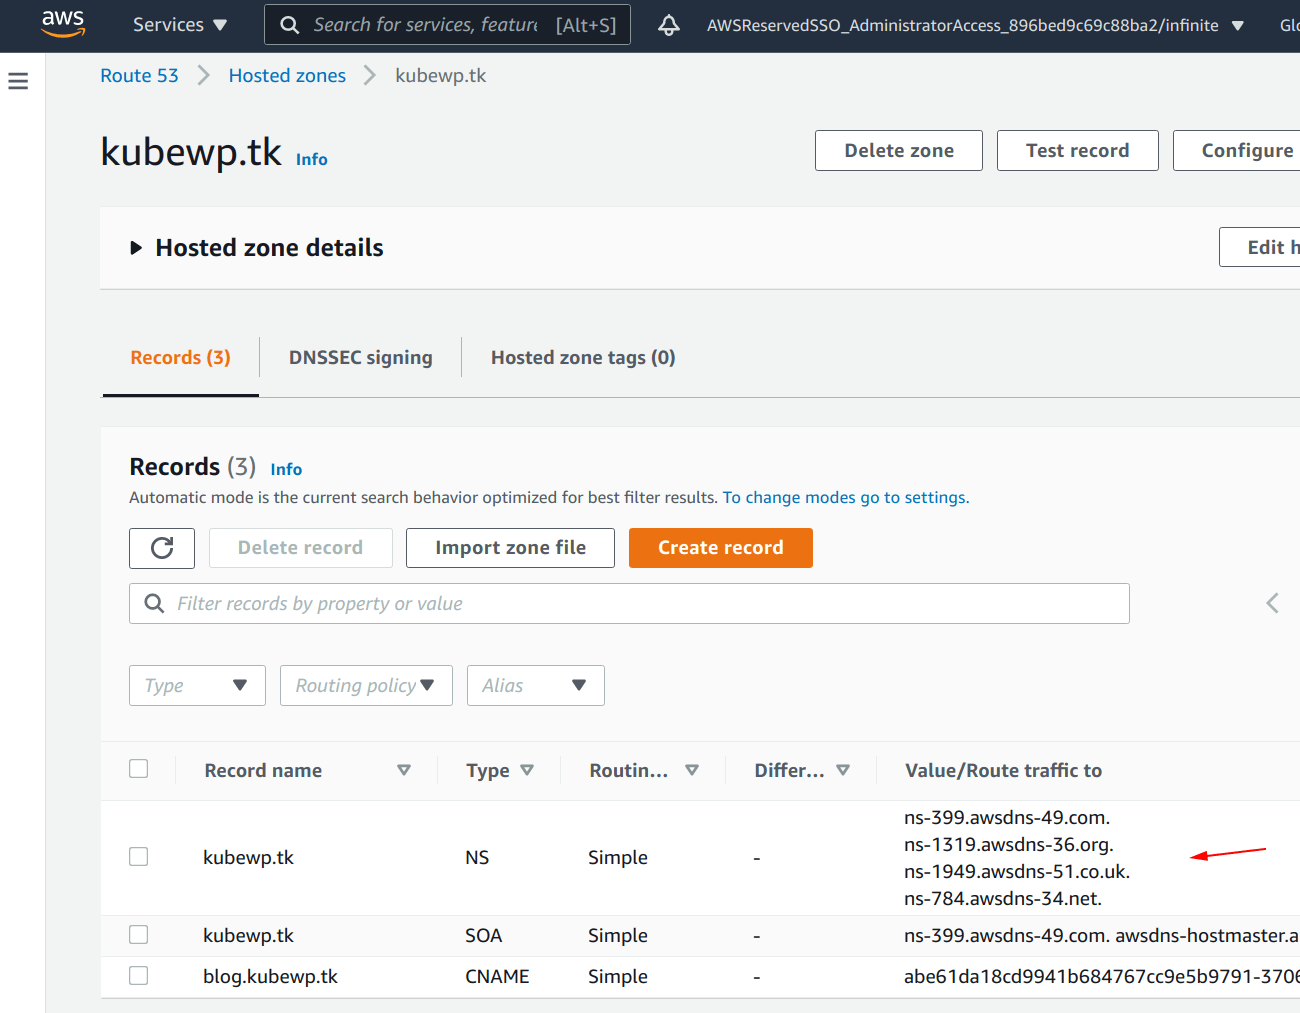
To access your website, change the DNS of the domain used on the variables.tf file to the ones provided by AWS Route 53:
To speed things up while you're just testing, get the load balancer hostname with kubectl get svc command, discover the IP addresses behind the hostname with dig or nslookup commands and then update your /etc/hosts file to bypass the DNS temporarily.
With the DNS all set up, you can now access the WordPress install!
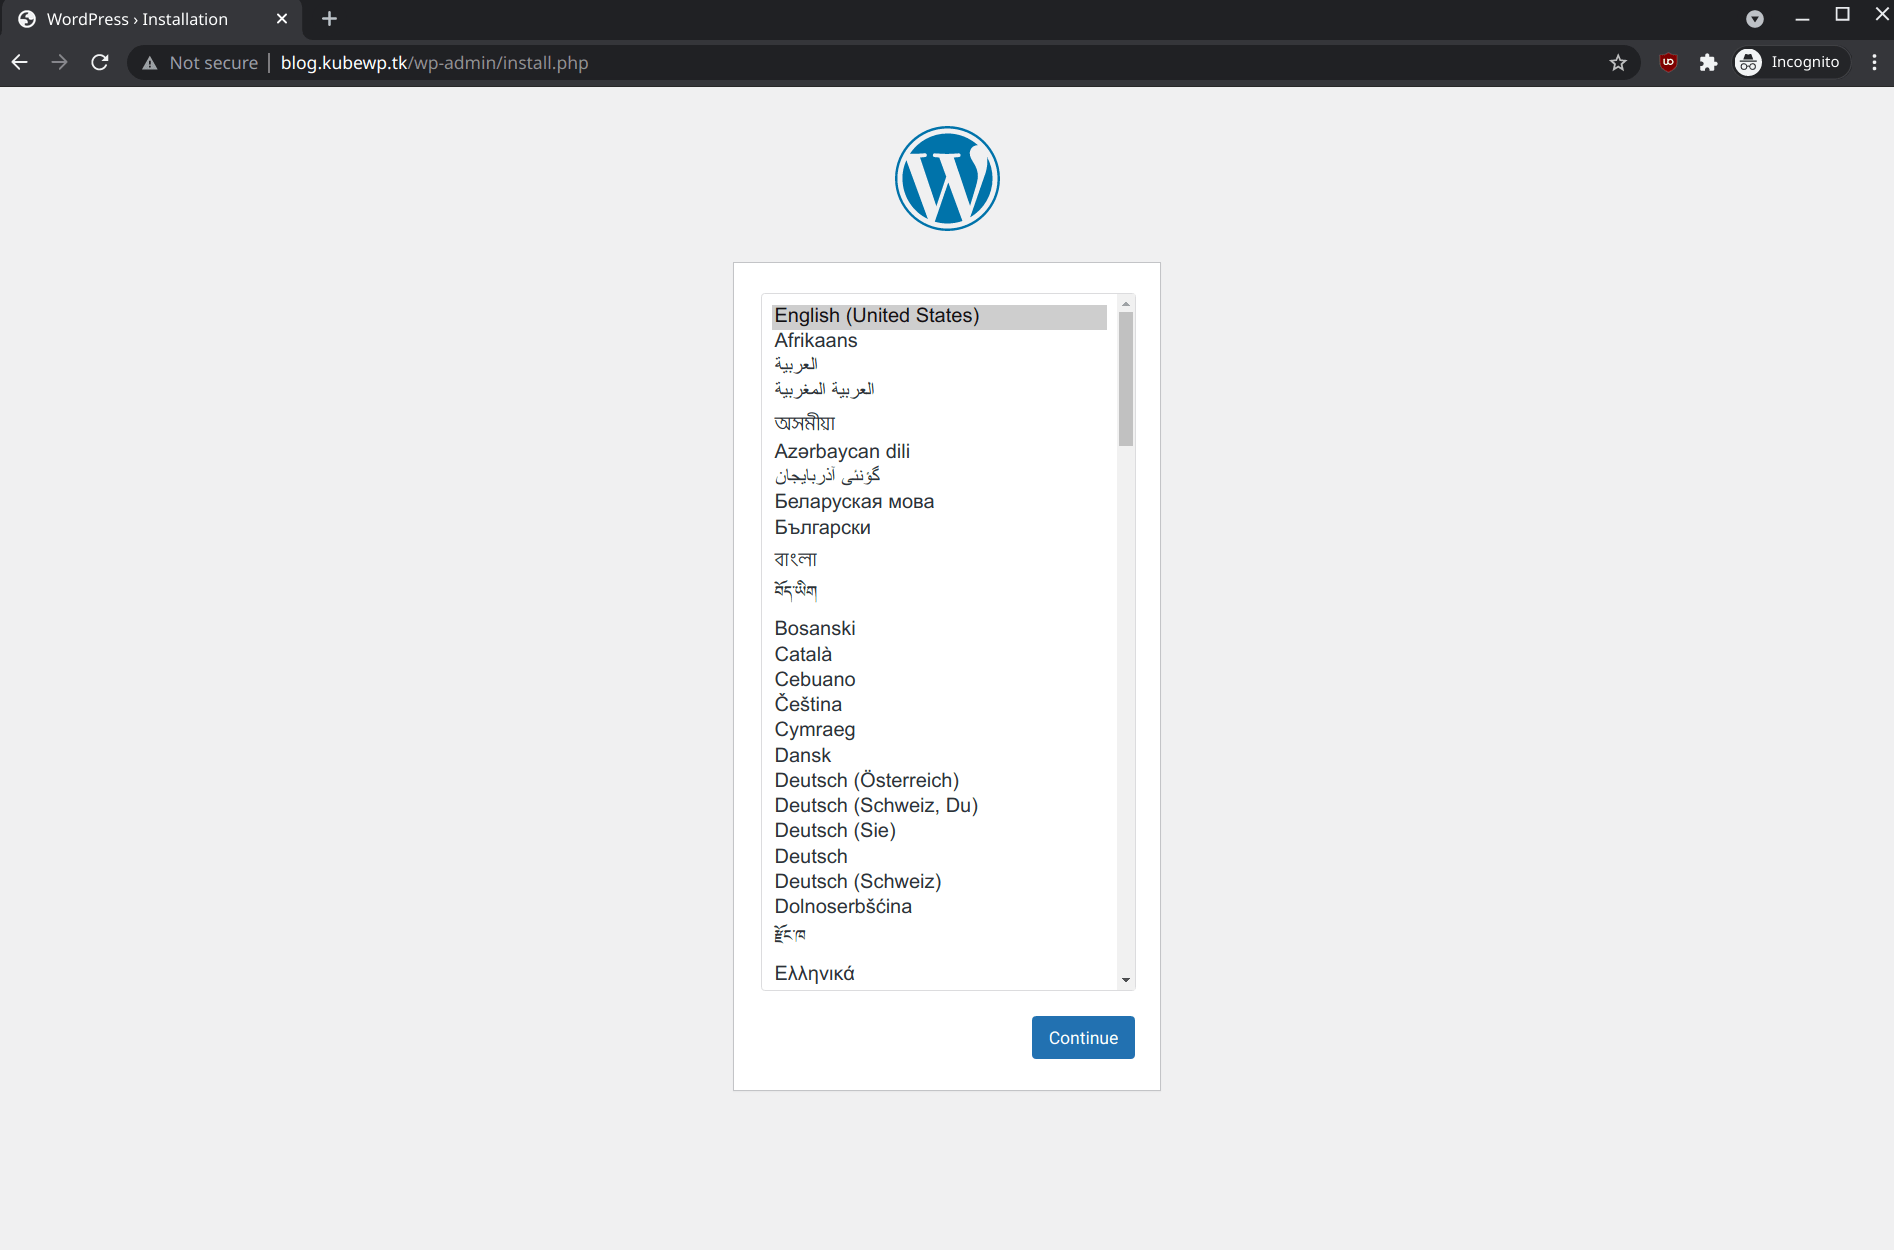
If you accessed with https://, you will need to ignore the SSL warnings. The installation wizard will only request you to create the super user cause the database credentials was already provided by Terraform. 😎
Using WordPress CLI
Let's extend our knowledge a little bit by installing a WordPress theme, but not from the WordPress dashboard, let's do it from the CLI cause we h-a-c-k-e-r-s! No, we are not, but let's do it anyway.
Access one of the WordPress instances with kubectl:
$ kubectl exec --stdin --tty $(kubectl get pods | awk '/kube-wp/{print $1}' | tail -n1) -- /bin/bashThere it's possible to install and run the WordPress command line interface. Simple as that:
$ cd /opt/bitnami/wordpress/; curl -O https://raw.githubusercontent.com/wp-cli/builds/gh-pages/phar/wp-cli.pharTo install and activate the latest WordPress theme for example:
$ php wp-cli.phar theme install twentytwentyone --activate
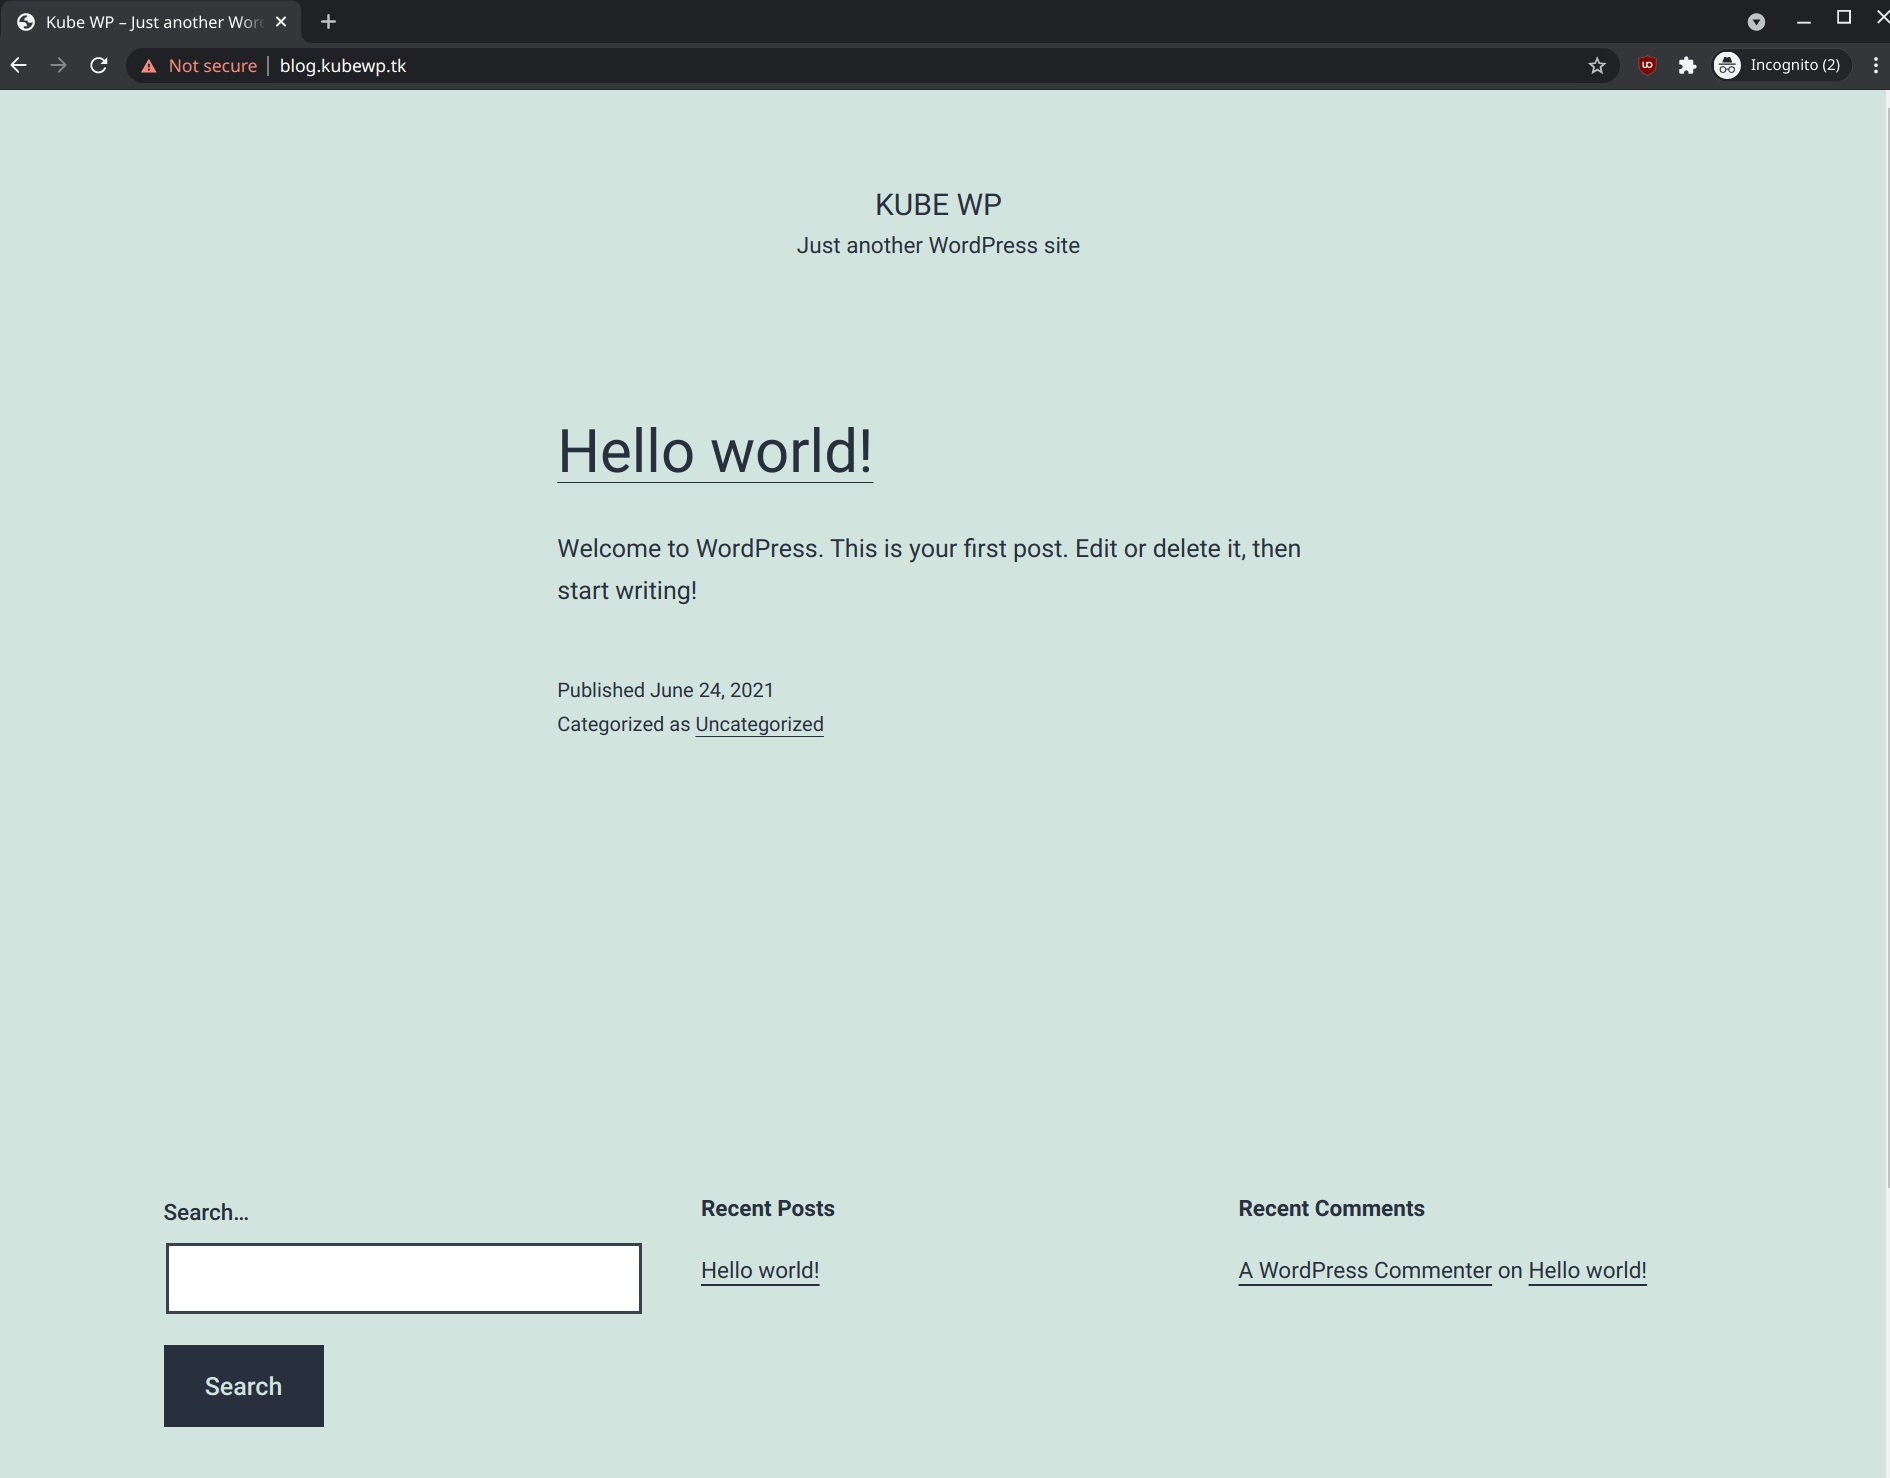
It's possible to see the theme being used already by accessing the website:
Cleaning Up
There are a lot more that you can and probably should add to a production environment, such as Let's Encrypt SSL certificate with the help of certbot; WAF to protect against hackers; define the best Kubernetes Autoscaling strategy; automatically update your WordPress pods with Keel.sh or even migrate to a GitOps workflow, just to mention a few.
For now you already successfully deployed a WordPress install using state-of-the-art technology and it's time to clean everything so you don't end up with a enormous AWS bill at the end of the month.
When you're ready to clean all resources deployed, run one last command and everything will be deleted:
$ terraform destroyAnd just like that there is nothing left. Infrastructure as code FTW! 💯
Comments